
You open the freezer for a bag of peas, and instead of the usual temperature, the display shows a code — E1. The freezer still hums. The ice cream still feels mostly hard. But something is clearly off, and that little code is all you’ve got to go on.
Take a breath. In most cases a code like this points to the freezer’s temperature-sensing circuit, not to a dying appliance — and the first checks are free.
At the center of that circuit is the thermistor — a small, inexpensive part inside the freezer compartment. One sensor reads the air in the cabinet, and on many frost-free designs another sits at the evaporator coils so the defrost cycle knows when to kick on and off. When that signal gets lost or distorted, the board flags a fault and the freezer starts behaving unpredictably.
Sensor trouble shows up across GE’s lineup — from Monogram built-ins like the ZIS420NM and ZISS420NN to the Garage Ready uprights in so many Atlanta garages — because they share electronic controls and a No-Frost layout.
In this guide, we’ll walk you through what the code really tells you, the hidden problems that mimic a bad sensor, what you can safely check yourself, and when it’s time to book GE freezer repair with a technician.
Decoding the E1: “Temperature Sensor Failure” – What Does That Really Mean?
Here’s the part most E1 guides skip. GE’s own published list of fault codes for its electronic upright freezers doesn’t include E1. The codes GE documents are:
- E7 — a control button stuck for more than 30 seconds
- E8 — thermistor shorted
- E9 — thermistor open
Two of the three are temperature sensor faults — the same circuit people mean when they search for “GE freezer E1.” Codes vary by control and generation, though. So before anyone orders a part, write down exactly what your display shows and the model number from the label. That one step keeps you from buying a sensor you don’t need.
Think of the thermistor as the freezer’s thermometer: a tiny resistor whose electrical resistance changes with temperature. A sensor fault shows up when:
- the thermistor itself fails — it shorts or opens, in GE’s terms,
- the wiring to it breaks or corrodes,
- or ice coats it so heavily that it can’t “feel” the real temperature.
When the board gets bad data, it either:
- refuses to start defrost — and ice builds up, or
- runs defrost too long — and the compressor overworks to catch up.
Result? Uneven freezing, frost in weird places, or the whole unit slowly getting warmer over days. This isn’t a “maybe” code — it’s the control telling you it no longer trusts its own readings.
Not Always the Sensor: Other Hidden Culprits Behind the E1 Code
The thermistor is the usual suspect. But a few other problems can trick the board into thinking the sensor failed — and a new sensor won’t fix any of them:
- Evaporator fan motor not spinning. Cold air doesn’t reach the sensor properly, so the board sees abnormal temperatures.
- Damper control stuck. On refrigerator models that route cold air through a damper, a stuck one throws the readings off.
- Defrost system failure. A dead heater or defrost shut-off switch means ice buries the thermistor and feeds the board false data.
- A condenser that can’t breathe. Dirty coils or a cabinet pushed tight to the wall won’t break a sensor, but a freezer that can’t shed heat runs long and warm — and that muddies the diagnosis.
- A recent move or door removal. On GE’s Garage Ready uprights, the top hinge cover holds a wiring connector and the room-temperature thermistor, and GE’s door-removal steps have you disconnect both. A connector that wasn’t reseated firmly can leave the control without a sensor signal.
Ignoring any of these makes the problem snowball: heavy frost blocks airflow, the freezer runs warmer, food softens, and the compressor works far harder than it should.
Seeing E1 and worried about your food? You don’t have to guess which of these it is. Tell us the model and what the display shows, and we’ll get a technician to you — same- or next-day across most of metro Atlanta.
This Isn’t a One-Model Problem: Sensor Codes Across GE Freezer Styles
A sensor fault isn’t a quirk of one production run. We see it in GE freezers of all types and generations here in Atlanta, because the electronic control depends on those readings no matter what cabinet it’s built into. Here’s how it typically plays out:
| Type of GE freezer | What’s typically happening & example models | Why this matters for the repair |
|---|---|---|
| Monogram built-in side-by-side (freezer side) | A tight built-in installation makes airflow and icing problems more likely, and those can look exactly like a sensor fault. Models: ZIS420NM, ZISS420NN | Repairs require precision — access to the back panel is often limited by the cabinetry. |
| Standalone upright freezers (GE Garage Ready, frost-free) | A sensor code here can come from the thermistor, a defrost system failure, or a failing evaporator fan motor. These models also have a room-temperature sensor in the top hinge cover. Models: FUF14DLRWW, FUF17SMRWW, FUF21SMRWW | Heavy use and hot Georgia garages make these units work harder (GE notes a freezer runs longer in hot weather), so wear shows up sooner. |
| Combo systems (side-by-side and French door refrigerators) | In the freezer section, a sensor complaint usually comes with airflow trouble — an iced-over evaporator, a stalled fan, or a stuck damper. | The repair is part of the refrigerator’s overall system, so it needs a fuller diagnosis. |
Old upright in the garage or built-in ZIS420NM in the kitchen — a sensor code signals trouble in the same temperature-monitoring circuit, and it always calls for careful diagnosis, whether that ends with a simple reset or a technician’s visit.
Your Action Plan: From Simple Reset to Professional Repair
Work through these in order. The first steps are free, and whatever you find helps the technician if you end up calling.
Safety first: Unplug the freezer (or switch off its breaker) before you reach behind it or clean anything. Don’t remove interior panels or covers, never chip ice with knives or screwdrivers, and don’t use a heat gun or open flame on frost. If your appliance has a water line, leave the valve and fittings alone. Anything beyond the checks below is a job for a qualified appliance technician.
What You Can Safely Try (DIY steps)
- Reset the control. GE’s reset for upright freezer fault codes is short: disconnect power for 30 seconds, then restore it. If the code clears and stays gone, a glitch may have been the whole story.
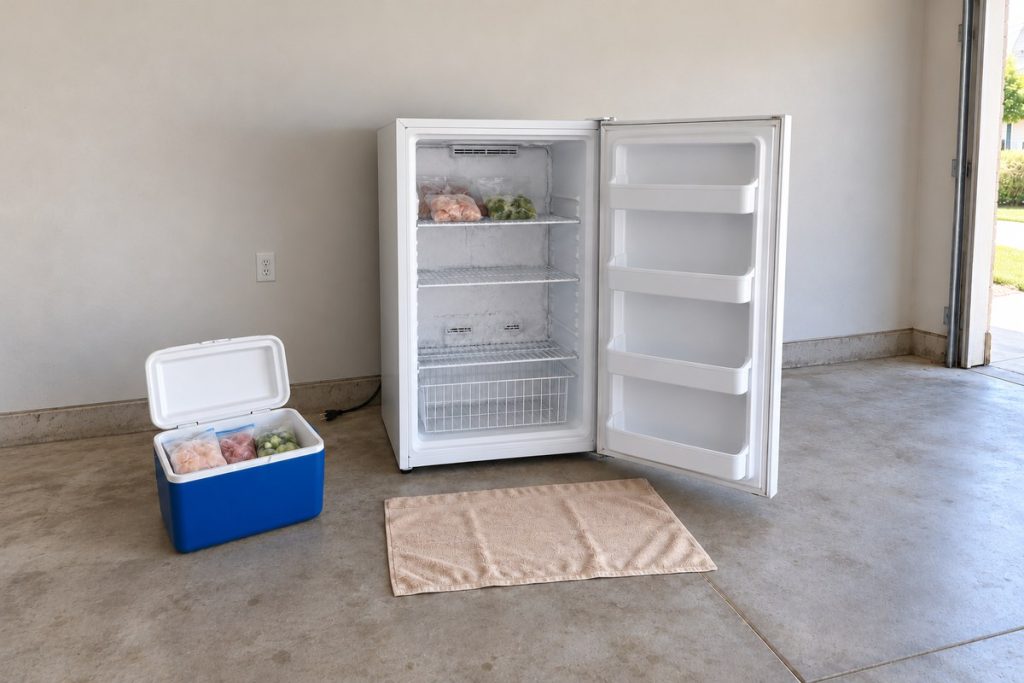
- Look for ice. Check the back wall and the evaporator cover. Thick frost there points to a defrost problem burying the sensor. Fix: a manual defrost — move the food to coolers, unplug the unit, leave the door open, and let the ice melt on its own. Put towels down; heavy ice can take several hours.
- Check the door and the hinge cover. Make sure no package is holding the door open. If the door was recently taken off to fit the freezer through a doorway, see whether the hinge cover sits flat and secure. Don’t open the wiring yourself — just tell the technician.
- Give it room to breathe. GE calls for about 3 inches of clearance on the top and all sides of most upright and chest freezers. If your model has exposed condenser coils, vacuum them gently while it’s unplugged. If the coils are hidden inside the cabinet walls, there’s nothing to clean — just keep the space clear.
These checks clear the codes caused by glitches, ice, and blocked airflow. If the code is still there, the problem is in the parts.
When to Stop DIY and Call a Technician
- The code returns after a reset or a full defrost.
- Heavy ice keeps coming back.
- The freezer feels warm even though the display shows 0°F (−18°C).
- You hear no fan, or new noises you didn’t hear before. (Our guide to GE freezer noises explains which sounds are normal.)
GE’s guidance is clear: if a fault code doesn’t reset or comes back, the freezer needs service, and GE recommends keeping it unplugged until then. Here’s what we do:
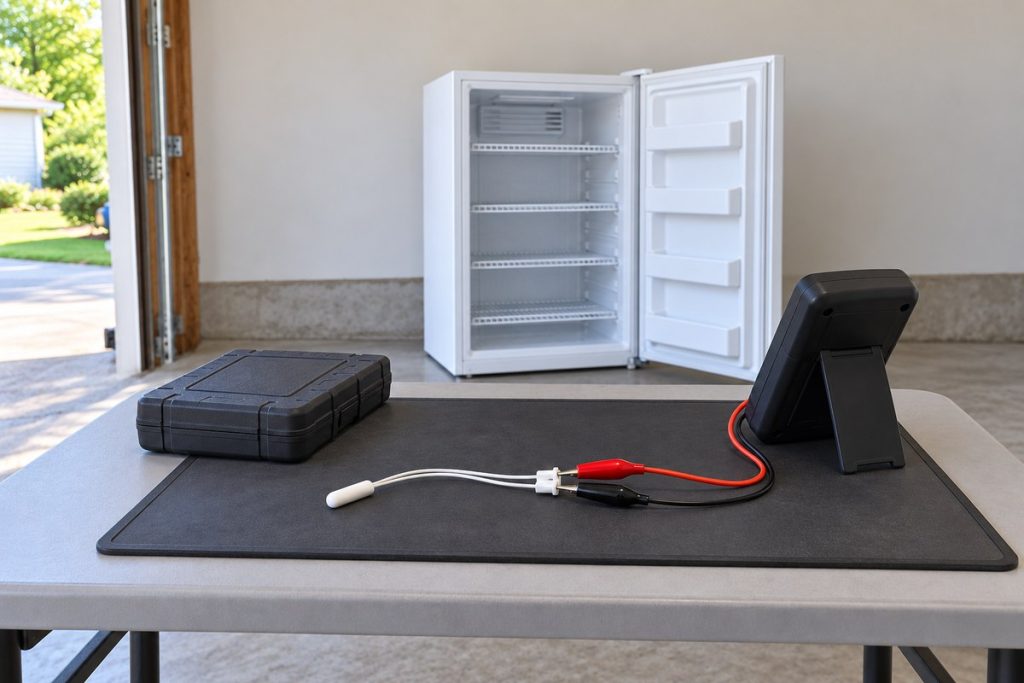
- A resistance test on the thermistor, checked against the temperature chart for your model — a precise electrical test.
- A full board and wiring inspection, including the connectors at the hinge.
- Evaporator fan motor or defrost component replacement if that’s where the trouble is — with genuine OEM parts (made by the original manufacturer).
Spent an evening on resets and defrosting and the code is still winning? You’ve done the hard part — call us or book online, and we’ll take it from here.
What Happens If You Ignore a E1 Code
Letting a sensor code blink for days or weeks is risky. Here’s what we’ve watched happen:
- Food thaws in spots — meat, seafood, and ice cream soften and refreeze, and quality goes downhill fast.
- Ice builds up until the evaporator fan stops — and the cooling stops with it.
- The compressor runs nonstop trying to compensate — and wears out early, turning a small sensor repair into a much bigger one.
- Moisture collects behind the panel — bringing odors, mildew, and a messy cleanup.
We’ve had customers lose entire freezers full of holiday prep because they waited “to see if it goes away.” One reassuring number from GE: a freezer that stays closed keeps food frozen for about 24 hours without power, as long as warm air isn’t let in.
Conclusion
A sensor code is your GE freezer’s way of saying “check the temperature-sensing system before things get ugly.” Caught early, the fix is usually quick and affordable, and the first steps are free: reset, look for ice, check the door, clear the space around the cabinet.
If your freezer door has also been popping open, read why a GE freezer door won’t close — a leaky door is one of the fastest ways to bury a sensor in frost.
Is your GE freezer showing an error code right now? Schedule GE freezer repair with PRO Appliance Repair — call us or book online, and we’ll have a technician out same- or next-day across most of metro Atlanta. Our insured, background-checked, EPA 608 certified (a federal certification for handling refrigerant) technicians bring 15+ years of hands-on experience, use genuine OEM parts, and back the repair with our workmanship warranty — up to six months.
FAQ
If it’s a thermistor fault, does the freezer stop freezing right away?
Not always. Usually it starts with uneven temperatures and strange frost patterns — the code is the warning before things get really bad, so act while your food is still frozen solid.
Can a power surge cause E1 on an older Monogram like the ZIS420NM?
It can. A surge is more likely to hurt the control board than the sensor, but either can take the hit — Georgia’s summer thunderstorms bring us our share of these calls. Try the 30-second reset; if the code returns, both the board and the sensor need testing.
Is the thermistor expensive to replace?
Usually not. The sensor is one of the less expensive parts in a freezer; most of the job is reaching it behind the evaporator cover and confirming it’s really the culprit. It’s a far smaller repair than a compressor or a new freezer.
How long can I safely run my GE freezer with E1 showing?
Not long. GE says that if a fault code on its upright freezers comes back after a reset, the freezer needs service, and it recommends unplugging the unit until then. Plan on moving the food rather than running on bad sensor data for days — that risks partial thawing and extra strain on the compressor.
Does E1 always mean I need a new thermistor?
No. Often the sensor is the problem, but we always test it first — sometimes it’s the wiring, a loose connector, ice from a defrost failure, or the board. Replacing a good sensor only pushes the real problem down the road.
Can I replace the thermistor myself on a ZISS420NN?
We don’t recommend it. Reaching the sensor means removing interior panels, and one wrong move can damage the wiring or the coils — leave it to a technician.
PRO Appliance Repair is an independent repair company and is not affiliated with, sponsored by, or endorsed by GE Appliances, a Haier company. GE and Monogram are trademarks of their respective owners; brand and model names are used only to identify the appliances this page is about.