
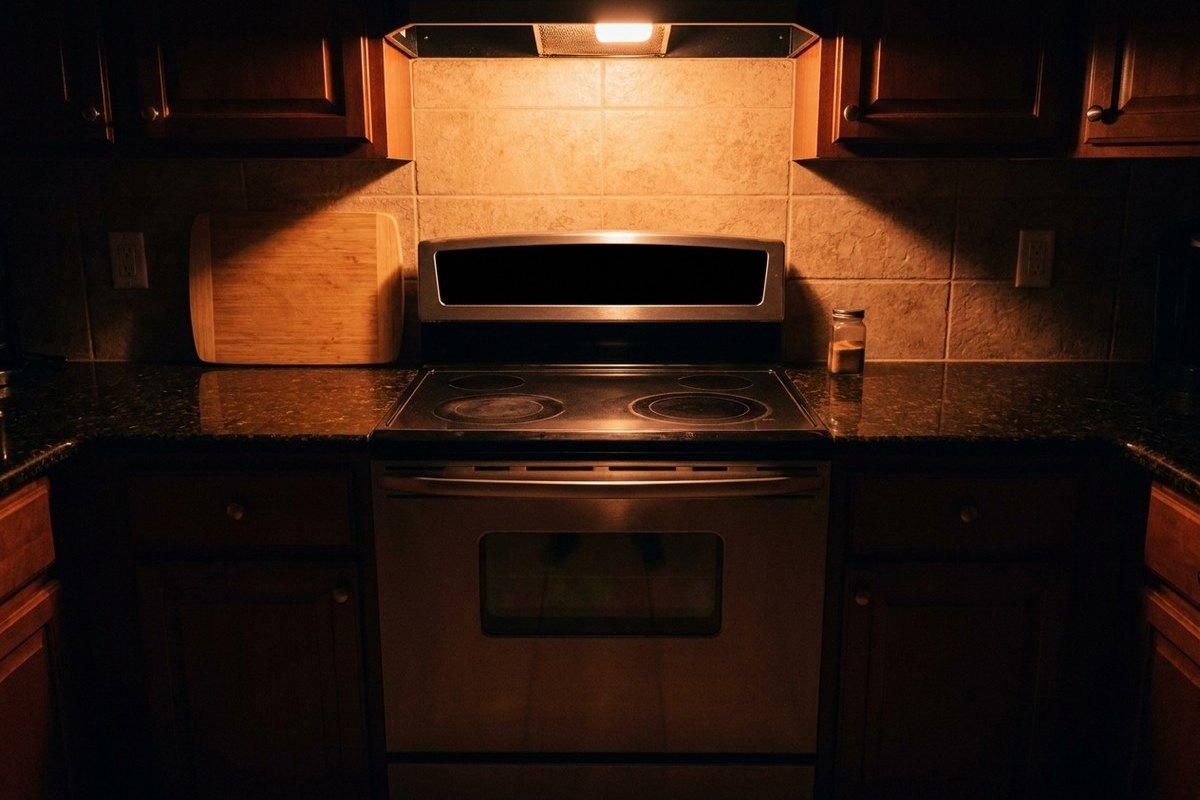
You ran the self-clean cycle, waited it out — and now the oven is completely dark. No display, no beep, no response from any pad. It’s one of those moments that stops you cold, especially with a dinner already on the calendar. Here’s the reassuring part: an oven that goes dark at the end of self-clean has almost never failed at the part you were using. Self-clean is the hottest thing the appliance ever does, and that heat is what opens a one-time safety fuse or cooks a heat-sensitive part behind the back panel. Your oven was switched off from the inside. It isn’t worn out.
We’ve spent 15+ years fixing ovens across metro Atlanta, and this is one we see after every holiday clean. In this guide, we’ll walk you through which of two failures you have, what the cleaning heat breaks (most likely first), the free checks you can safely do yourself, and where owner work ends.
First, make sure this is your problem. This guide is about an oven with no power at all after cleaning — and two neighboring faults get described in the same words. Display still lit, oven simply stays cold? Read why an oven will not heat up instead. Panel alive and only the door won’t open? Then the latch and the cool-down logic are still doing their job, and that’s a different fault again. The next section helps you tell which one you’re looking at.
Dark control panel on a freestanding electric range in a home kitchen
Dead or just stubborn? Two failures, one complaint
Owners describe both of these as “the oven died after cleaning.” They lead to very different repairs.
A total blackout. The clock is gone, the interior light does nothing, and no pad wakes the panel. Power is being cut ahead of the control — in your house circuit, or by a protective part inside the appliance.
A live control that refuses to work. The clock is there and the panel beeps, but the oven won’t heat, or won’t release the door. That machine still has power. The failure sits in a sensor, a latch or a board.
Sort your case before you touch anything — the safe checks below split at exactly this point. Either way, the failed part sits behind a panel you’re not meant to open, which is why this symptom ends up with an oven repair service more often than most.
What self-clean actually does
Self-clean is pyrolytic — a fancy way of saying it burns residue off instead of dissolving it. GE publishes the number plainly: during the self-cleaning cycle the oven is heated to a maximum of 885°F (471°C). The cycle runs one and a half to four hours, depending on how much soil is in there. Ordinary baking asks for a fraction of that.
Two things follow. First, the door has to be held shut, so the latch drives closed early — Whirlpool puts it at approximately 6 seconds after the cycle starts. Frigidaire states that, for safety reasons, the door then stays locked until the oven has cooled enough to release it. Second, the whole cabinet soaks in that heat. GE publishes that cooling down after a self-clean cycle takes between 30 and 90 minutes.
Now picture what lives around that cavity. The latch motor sits above the door. The temperature sensor reaches through the rear wall. The wiring harness runs against the back, and on many designs the control board lies right across the top. Most ovens take this for years without trouble. But when something does give up, this is when it happens — and it’s why these failures fill GE oven repair calls the week after a holiday clean.
What the heat broke — most likely first
Ordered from the cheapest and most likely to the least. Work down the list, not across it. The first check costs you nothing.
#1. The house breaker or a fuse
Hours of continuous full-power heating is the hardest load your circuit ever sees. A breaker that was already weak gives up during the cycle rather than during dinner.
The tell: a dead appliance with no smell and no drama. On a freestanding range the surface elements are dead too, because they share the supply. Fix: GE’s published instruction for a control that won’t respond is to turn the circuit breaker to the OFF position or remove the fuse, wait one minute, then turn it back to ON.
Look at the breaker properly — don’t just glance at it. A tripped one often rests in a middle position that reads as ON. Trips again straight away? Leave it off. Something downstream is shorted, and that’s an electrical fault, not a cleaning problem. On a slide-in or freestanding range, this one free check settles a good share of these calls.
#2. The one-time thermal fuse
Many electric ranges and wall ovens carry a thermal fuse in the supply path. Some manuals call it a thermal cutoff — same part. It’s a one-shot device: once the temperature around it passes its rating, it opens for good. It’s doing exactly what it was built to do, and it doesn’t come back when things cool. Once it opens, it gets replaced. Never reset.
The tell: a total blackout that arrived right with the clean cycle, on a house breaker that tests fine and stays on. Nothing smells burnt. Nothing looks damaged. The oven acts as if someone unplugged it — while it’s still firmly plugged in.
That fuse lives behind the rear service panel, so the appliance has to come out of its opening before anyone can even see it. And a fuse that opens again after replacement isn’t a fuse problem at all — something is running hotter than it should, and that’s what a good diagnosis goes after next.

Close-up of the rear service panel wiring on an electric range
#3. The door latch or its motor
The motorized latch runs twice in every cleaning cycle, right in the hottest air leaving the cavity. That ages its motor, its cam and its position switch faster than the rest of the oven. When the switch stops reporting a safe position, the control declines every function — and you’re looking at what seems to be a dead oven. The giveaway: it started with the cycle.
Please don’t pry the door or hook the latch with a tool. That latch — the metal hook the motor drives across to pull the door tight — is what keeps a glass door shut at cleaning temperature.
Panel still lit, and it’s the latch or the door acting up? That belongs to an oven that will not heat up.
#4. The oven temperature sensor
The sensor is a resistance probe — it reads heat as a change in electrical resistance — reaching through the rear wall, closer to the cleaning heat than any other electrical part. Repeated cycles push a marginal one out of range. So the self-clean signature looks like this: the oven baked normally before the cycle and refuses to heat after it. Its connector is at the back of the appliance, which is where this stops being an owner job.
How a sensor is told apart from the element, the igniter and the board is laid out in that same no-heat guide.
#5. The control board
On many built-in ovens the board sits directly above the cavity, exactly where the hot air leaves during a clean cycle. The relays on it — the little switches that feed power to the elements — give up first. The tell: a dead or half-dead display with a healthy breaker and an intact thermal fuse. The supply is there; nothing is using it. A board is something a technician traces to, not something you order from a description of the symptom — that’s how you avoid paying for a part you didn’t need. On high-end and built-in appliances it’s also model-specific and slow to arrive.
A panel that lights up and ignores what you ask of it puts the board last on the list in why an oven will not heat up — not first.
#6. Heat-damaged wiring
Least common. Most serious. The wiring at the back of an oven runs in high-temperature insulation. After enough cycles that insulation turns brittle, and connectors discolor at the terminal block — the strip at the back of the appliance where the house wires land. A connection that’s been running hot eventually opens, and it can arc before it does.
The tell is physical: a faint burnt-plastic smell near the back of the appliance, a discolored connector, or a scorch mark on the terminal block. Sometimes it shows up as power that comes and goes as the connection makes and breaks.
No tape, sleeve or twist-on connector belongs anywhere near this. Damaged connections get cut back and remade with rated terminals, and whatever made them overheat is found in the same visit. Smell burnt plastic? Leave the breaker off until someone has looked.
Safe checks after a clean cycle
Only attempt the checks below. Do not remove any panel or access any wiring — these ovens run on a 240-volt circuit, and work beyond the breaker and the visible latch lever should be done only by a qualified appliance technician.
Six things, in order. No tools, no panels, nothing opened — and not one of them costs you a dime.
- Wait out the cool-down. Don’t judge anything yet. GE publishes 30 to 90 minutes after the cycle ends, and a control still sitting in a cleaning state hasn’t failed.
- Cycle the house breaker properly: full OFF, wait a minute, back ON. Reseating a breaker that only looks tripped is the most productive thing on this list.
- Check the manual latch lever, if your range has one. GE publishes that the self-clean door latch should be all the way to the left for normal use.
- Look for a control lock. Whirlpool describes a lock feature that shuts down the control pads. It clears when one key is touched and held until the lock indicator goes out. On some consoles that key is Control Lock, on others START/ENTER, and the hold time differs by model. A locked panel looks exactly like a broken one.
- Rule out Sabbath mode and store demo mode. Both suppress normal operation, and your use and care guide lists the exit for your model.
- Write down the model and serial number from the rating tag. It usually sits on the door frame, the drawer opening or the side of the cavity — and it decides which parts ride on the truck.
Why the rest is behind the back panel
Done all six and it’s still dark? You’ve done the hard part. Everything past that list is behind a panel. The thermal fuse, the latch assembly, the sensor connector and the board all sit on the far side of a rear or top cover. Reaching any of them means the appliance comes out of its opening with the circuit dead at the breaker.
Behind those covers are the 240 V terminals that feed the elements. On a built-in there’s also a mounting arrangement that has to go back exactly as it was. This is where owner troubleshooting ends — not because it’s difficult, but because the failed parts are on the wrong side of a barrier the manufacturer put there on purpose. The same goes for a slide-in unit built into a run of cabinets, which is why this sits with stove repair work rather than kitchen maintenance. Let us take it from here.
What Decides the Size of the Repair
Which part the heat reached decides the spread. A one-shot thermal fuse is a small part buried behind a panel, so most of that visit is the work of reaching it. A control board is the reverse: the part costs more than the time it takes to fit. Everything else that moves the figure on any oven fault — access, part availability, warranty coverage — is laid out in the no-heat guide. Either way, nobody can honestly name a number from a description of a symptom. The figure comes out of the diagnosis, once someone has the model number and the failed part in front of them.
Should you run self-clean again?
Yes — on a healthy oven. Just give it more care than most people do. Run the cycle on a day you won’t need the oven afterwards, not the evening before guests arrive. Across metro Atlanta, Thanksgiving week is when the oven matters most — and when a failed clean cycle hurts the most.
Cut the workload first. Scrape out heavy spills. Take the racks out, unless your use and care guide says your model tolerates them. Only moderately dirty? Choose the shorter cycle, not the longest one. Frigidaire’s published guidance for typical cleaning needs is a cleaning time of three hours, or the medium soiled setting on consoles that name soil levels instead of hours. And if the oven already has a history of faults, get those looked at before you ask it to spend four hours at its limit. That’s the story behind most of the oven repair in Atlanta calls we take after a cleaning cycle.

Technician hands testing an oven rear panel with a multimeter
Frequently Asked Questions
Can I just replace the oven thermal fuse myself?
Honestly, it’s not a weekend task. Reaching it means pulling the range or the wall oven out of its opening and taking off the rear panel, with the circuit switched off at the breaker for the whole job. Behind that panel sit the same 240 V terminals that feed the elements. The correct part also depends on the model number — so this one’s a service call.
My oven has no power, so why is the door still locked?
Because the latch holds the last position it was driven to. Frigidaire publishes that the door stays locked until the oven cools and then unlocks by itself — but that release needs a live control board. With the control dead, the latch simply stays where the clean cycle left it. Please don’t force it: that tends to break the handle or the latch itself.
How long should I wait before deciding the oven is really dead?
Give it the full cool-down first. GE publishes that it can take between 30 and 90 minutes for an oven to cool down after a self-clean cycle, and nothing on the control panel means much until that’s over. Once it’s cool, switch the house breaker off for a full minute and back on. Still dark after that? That’s a real fault.
Did running self-clean void my oven warranty?
Self-clean is a published feature of the appliance. What the warranty covers after a heat-related failure depends on the age of the oven and on the terms printed in your own use and care guide — so read that document before you agree to anything.
My built-in wall oven died during self-clean. Is it worth repairing?
Usually, yes — the cabinet opening was built around that exact chassis. A replacement oven with a different depth or trim width turns an appliance purchase into cabinet work. A blown thermal fuse, a latch assembly or a control board is a contained repair. Have the failure identified before you shop for a new oven; there’s no point replacing what can be fixed.
Still dark after the clean cycle?
The oven has cooled fully. The breaker has been off and back on. The latch lever is where it belongs — and the panel is still dead. Frustrating, we know. But you’ve now ruled out everything an owner can rule out from the front. What’s left sits behind the back panel, on a circuit that has to be dead before anyone opens it.
That part of the job is ours. Start on the oven repair page and describe it the way it happened: dark after cleaning, breaker holding. That way the fuse, the latch assembly and the board for your model ride on the truck the first time. Our experienced, background-checked technicians bring 15+ years in the field and cover the Atlanta metro area, usually with same- or next-day appointments. We fit genuine OEM parts, and our work is backed by a warranty of up to six months.
PRO Appliance Repair is an independent, family-owned repair company and is not affiliated with, sponsored by, or endorsed by GE, Frigidaire, Whirlpool, or any other appliance manufacturer named on this page. Brand names are used only to identify the equipment we service and remain the trademarks of their respective owners.