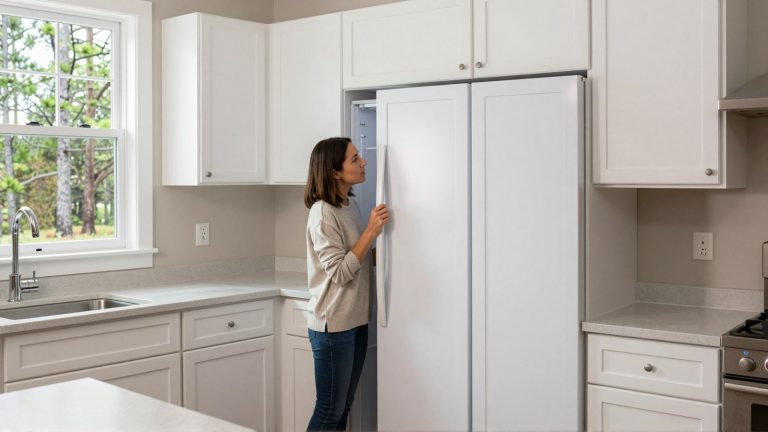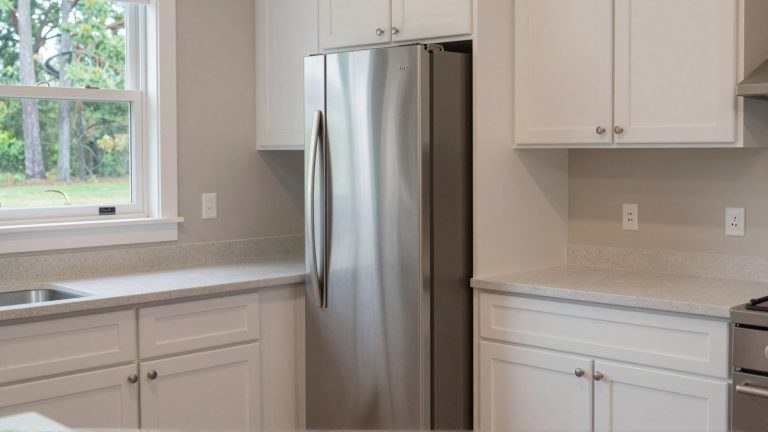
A Liebherr freezer door should pull shut with the gasket touching evenly from top to bottom. When frost starts collecting on the cabinet lip, the door alarm keeps coming back after what felt like a clean close, or the handle-side corner sits a few millimeters low, the leak is almost always in the door system — not in the cooling system.
Humid weather makes that leak show itself fast. Warm, damp air slips in at the weakest point, freezes along the gasket, and then gets in the way of the next close. Wiping the frost away clears the symptom for a day or two. Finding out why the door lost its pressure — the gasket, the alignment, the hinge, or something inside — is what actually fixes it.
Where we quote Liebherr, we’re quoting its user guide and installation instructions for the HF 861 built-in column freezer. Other Liebherr models differ in details, so always keep your own model’s guide close.
Liebherr freezer door not sealing? Our Liebherr freezer repair team checks the gasket, hinge position, door alignment, and cabinet fit together — before frost spreads into the drawers.
Door Issue Finder
Pick the line that matches what your Liebherr freezer is doing. Each one points to the next thing worth checking.
| What you see | Check this first |
|---|---|
| Frost at one corner | Gasket shape at that corner, a door that has dropped slightly, whether the appliance still stands level, a small alignment error |
| Frost along one full side | Door alignment, appliance level, hinge movement, uneven gasket compression |
| Door alarm after what felt like a clean close | Whether the door is fully shut on the handle side, gasket pressure, something inside holding the door open, drawer clearance |
| Door seals better when you lift the handle | Hinge wear, loose hinge hardware, a heavy custom panel, door sag |
| Gasket looks curled, hard, or loose | Aged rubber, a section out of its channel, heat damage, a poor earlier installation |
| No frost, but the door doesn’t close well | Interior clearance, drawer travel, a panel rubbing nearby cabinetry, hinge angle |
Door Seal Problems Don’t Always Start With the Gasket
The gasket is easy to suspect because you can see it. But weak seal contact often starts somewhere else: a hinge that has dropped, a drawer pushing on the door from inside, heavy door loading, or a door that’s slightly out of alignment. A built-in Liebherr can also lose pressure if the cabinet opening, the custom panel, or the hinge side shifts even a little.
A proper diagnosis starts with how the door lands. The gasket should compress evenly around the whole perimeter. If the top corner touches before the bottom corner, or the handle side hangs a little lower than the hinge side, the magnetic strip in the gasket can’t carry the whole job on its own.
Liebherr’s guide puts it plainly in its troubleshooting table. When the temperature isn’t cold enough, the first cause it lists is that the door isn’t closed properly. Further down, for built-in units, it adds that the appliance may not have been installed correctly in the recess — and the remedy is to make sure it was, and that “the door closes properly.”
Pro insight: one clue on its own isn’t enough for a confident repair decision. Frost at the lower handle-side corner plus a slight door drop usually points toward hinge or alignment work. Frost in the same spot with a stiff, curled gasket points toward gasket replacement. If the paper test fails along an entire side, the cause is usually door position, appliance level, or hinge movement.
Start With Clearance Inside the Freezer
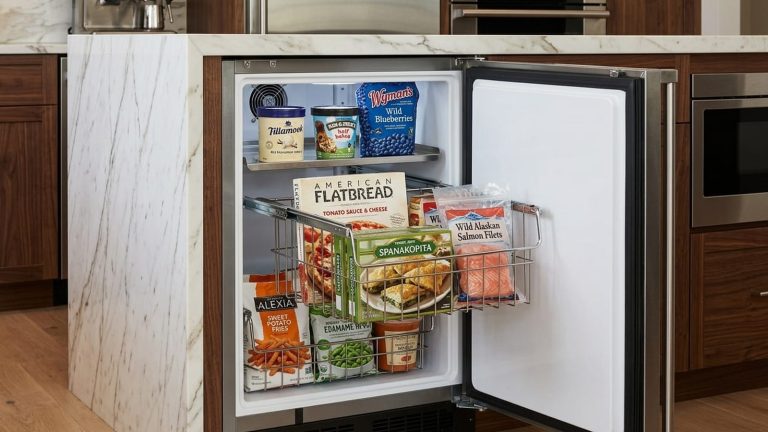
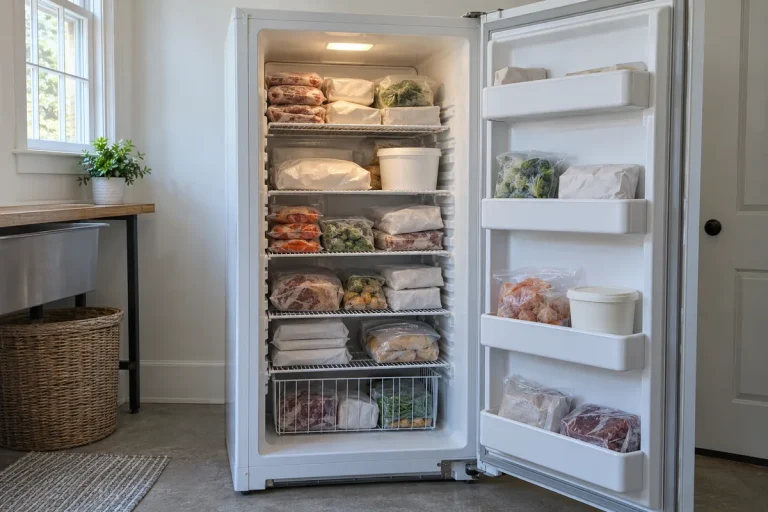
Before anyone talks about hinges or a new gasket, look inside the freezer. A drawer sitting out by half an inch can keep the entire door from sealing. A frozen bag can lean against the door liner. Heavy items in the door storage can pull the handle side down over time.
Common culprits:
- Freezer drawers that aren’t pushed all the way in
- Food packages touching the door liner
- Shelves that have shifted under weight
- Overloaded door storage
- An ice bin sitting forward
- Trim or a custom panel rubbing nearby cabinetry
- Bottom-freezer baskets packed too tightly at the front
If the door seals properly once the front edge is clear, the gasket may still be perfectly healthy. The fix can be as simple as correcting drawer travel, shelf position, or how the freezer is loaded.
Liebherr’s guide adds one storage habit that matters here: wrap and cover all frozen food well, because that prevents frost buildup. Unwrapped food releases moisture that freezes inside the compartment, and that frost can end up exactly where the door needs to close.
Pro tip: take a photo before you move anything. If frost comes back in the same spot after the freezer has been cleared and cleaned, that repeated location tells you whether the problem is storage pressure, gasket compression, hinge position, or cabinet fit.
Cleared the freezer and the leak is still there? The next checks are gasket compression, hinge position, and door alignment.
Humidity Turns a Small Door Gap Into Frost
A narrow leak behaves differently in a humid climate than in a dry one. Humid air enters the freezer, condenses at the coldest point it touches, and freezes near the gasket, the cabinet lip, or the door liner.
Many Liebherr freezers, the HF 861 among them, use NoFrost: the guide explains that moisture condenses on the evaporator and is defrosted and evaporated automatically, so the appliance doesn’t need manual defrosting. That’s useful for diagnosis. In a NoFrost freezer, frost building up around the door opening isn’t normal “freezer frost” — it’s a sign of warm air getting in.
Repeated frost in the same place marks the leak path:
- Frost along the lower handle-side corner
- Thin ice on the cabinet face
- Condensation near an integrated panel
- Frost that comes back after cleaning
- Drawers dragging because ice has built up near the front
- Door alarms after loading groceries or heavy use
Pro tip: if frost appears after big grocery trips but not when the freezer is half empty, mention it when you book service. Load-sensitive leaks usually point toward drawer clearance, door weight, hinge position, or a gasket that has lost compression.
What the Door Alarm Is Telling You
A Liebherr freezer warns you in two ways, and they mean different things.
The door alarm is about time. On the HF 861, Liebherr’s guide says it sounds if the door is open for longer than 180 seconds, and it stops by itself once the door is closed. If you hear it while the door looks shut, the appliance doesn’t see the door as closed — the handle side may not be fully home, or something inside is holding it open a fraction.
The temperature alarm is about cold. The guide says it sounds when the freezer isn’t cold enough, and the Alarm symbol flashes at the same time. The causes Liebherr lists are hot food placed inside, too much warm air getting in while you sorted food, a long power outage — or a fault in the appliance. It clears itself once the freezer is cold enough again. If it doesn’t, the guide sends you to the troubleshooting table.
A leaking door can trigger either one. Liebherr’s guide also asks you to store frozen food at 0°F or colder; if the door has been leaking for a while, check the food before you use it, and don’t eat anything that has spoiled.
Door Alignment: Small Movement, Big Leak
A Liebherr freezer door doesn’t have to look crooked to leak. A few millimeters at the hinge side can change gasket compression across the opposite corner.
When alignment is off, people usually describe it as a bad gasket, a door that won’t close, or frost that keeps coming back. The repair may involve leveling, hinge adjustment, a panel check, or repositioning the door.
Signs of an alignment problem:
- An uneven gap around the door
- The handle side sitting lower than the hinge side
- Stronger gasket contact at the top than at the bottom
- Frost in a narrow strip that keeps returning
- A door that closes better when the freezer is lightly loaded
- A door face sitting slightly proud of nearby cabinetry
- Recent flooring work, cabinet work, or moving the appliance
For built-in Liebherr models, alignment is installation work with exact numbers. The HF 861 installation instructions, for example, call for aligning the appliance with its adjusting feet, a set distance between the front edge of the cabinet and the appliance body all the way along, and aligning the custom door panel with adjusting bolts. That’s a job for an installer or technician working from your model’s instructions, not something to eyeball.
| What you notice | Likely repair path |
|---|---|
| Handle side sits low | Hinge inspection, door lift correction, panel weight review |
| Gap wider at the top | Appliance level, hinge adjustment, gasket compression check |
| Door sits proud of the cabinetry | Built-in clearance check, panel alignment, hinge seating |
| Door closes only when pushed firmly | Obstruction check, gasket contact test, hinge movement check |
Pro tip: a new gasket on a misaligned door can still leak. The part is new, but the pressure line is still wrong. That’s why door position gets checked before gasket replacement.
Hinge Problems Need More Than a Screwdriver
The hinge sets the angle of the door. If it shifts, loosens, or wears, the gasket loses pressure even when the rubber still looks fine.
Liebherr is strict about hinge hardware. In the HF 861 installation instructions, the section on reversing the door warns that if the fasteners aren’t installed with the proper torque, the door may fall off — and may not close, which hurts cooling performance. The instructions give exact torque values for the hinges and the soft-stop mechanism and ask you to check all screws and retighten them if needed. That level of detail is a good reason to leave hinge work to someone with the instructions and the right tools.
The user guide adds a simple safety rule for everyday use: don’t hold onto the hinge when opening and closing the door — fingers can get caught.
Signs that point to the hinge:
- A low handle-side corner
- A door that closes unevenly
- Needing to lift the door slightly before it closes
- Missing gasket pressure along the bottom
- The door rubbing trim or cabinetry
- Soft-close behavior that feels different than it used to
On some Liebherr units, getting to the hinge is straightforward. On built-in and panel-ready models, the door often needs support while it’s adjusted. Forcing an adjustment can damage the liner, the hinge mount, or the custom panel. The better repair is measured: correct the hinge, check the door path, then test gasket contact under normal load.
Pro tip: if the door seals better when you lift the handle slightly, say so when you book service. That points toward hinge drop, door sag, panel weight, or alignment — not a simple dirty gasket.
Heavy Custom Panels and Built-In Models
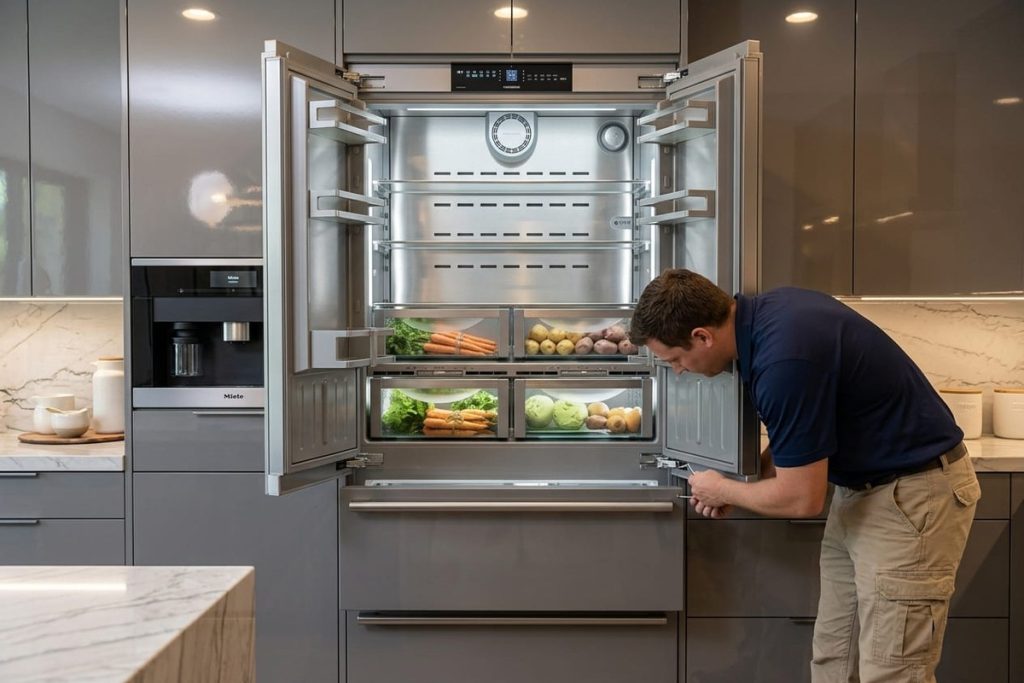
Panel-ready Liebherr models carry a cabinet door on the appliance door, and that extra weight lands on the hinges. Liebherr sets a limit. For the HF 861, the installation instructions give a maximum unit door weight of 57 lbs (26 kg) and warn that an excessively heavy unit door can damage the hinges and compromise the use of the appliance.
If your freezer started losing its seal after a remodel, new panels, or new hardware, mention it. A panel that’s heavier than the hinge was designed for can make the door sag slowly — first at the handle-side corner, then along the bottom edge.
When the Gasket Is the Problem
A healthy Liebherr gasket stays flexible, seated, and shaped to the cabinet. It doesn’t need to look perfect, but it has to make steady contact all the way around.
Signs the gasket itself is failing:
- The folds are cracked or split
- The rubber has hardened
- One corner curls away from the cabinet
- A section has pulled out of its channel
- The gasket sits wavy after the door closes
- The magnetic strip barely grips in one area
- Frost forms at the same section every time
A hardened, torn, or distorted gasket needs reseating or replacement. Magnetic pull can’t make damaged rubber fit the cabinet face. And don’t try to reshape it with heat — Liebherr’s guide warns against using electrical heating equipment, steam, or open flames around the appliance for defrosting, and a hair dryer aimed at a gasket can deform it further.
| Condition | What it looks like | What it usually needs |
|---|---|---|
| Cleanable | Light dirt, food film, dust, mild residue, no cracks | Gentle cleaning |
| Serviceable | A loose section, minor corner curl, uneven seating, weak contact in one area | Reseating and a door check by a technician |
| Replaceable | Torn folds, hardened rubber, permanent deformation, repeated frost at the same section | A new gasket matched to the model |
Clean the Gasket Before You Condemn It
A dirty gasket is easy to mistake for a failed one. Grease, dust, food film, sugar residue, and crumbs can break contact between the seal and the cabinet.
Liebherr’s guide lays out how to clean the appliance, and the same rules work for the gasket:
- Disconnect the power — unplug the freezer or switch it off at the breaker before cleaning.
- Use lukewarm water and a little dish soap on a soft cloth. Liebherr recommends a multi-purpose cleaner with a neutral pH.
- Clean inside the gasket folds and wipe the cabinet face where the gasket lands, including the corners.
- Keep water out of the wrong places. The guide says not to let cleaning water get into the drain gutter, the ventilation grille, or electrical parts.
- Dry everything — the gasket and the cabinet surface — before you close the door.
- Switch the appliance back on. The guide suggests turning on SuperFrost after cleaning, then putting food back once the freezer is cold enough.
What to avoid, straight from the guide: steam cleaners, concentrated cleaning agents, steel wool or scratching sponges, abrasive or caustic cleaners, anything containing sand, chloride, or acids, and chemical solvents. Those age the rubber and can damage surfaces.
Pro tip: clean the cabinet face, not just the gasket. The seal needs a smooth landing surface. A clean gasket pressing against a greasy cabinet lip still loses contact.
After cleaning:
- Seal improved: watch the same area for new frost over the next few days.
- Seal unchanged: the next suspects are gasket compression, hinge position, appliance level, and door alignment.
- Seal worse after cleaning: the gasket may already be loose, brittle, or poorly seated.
The Paper Test Gives a Useful Clue
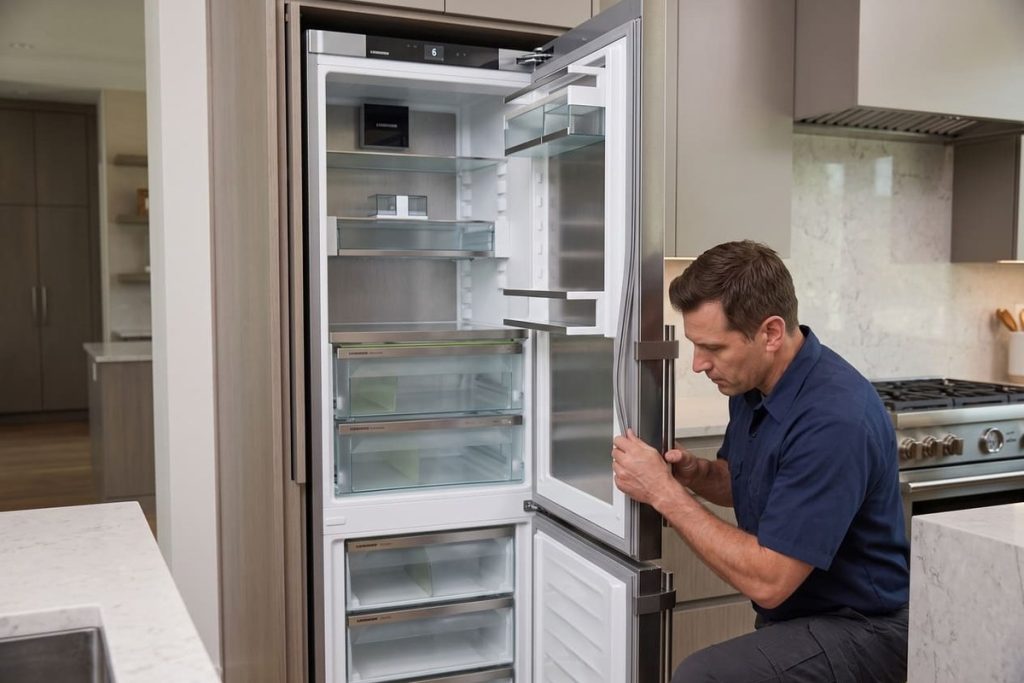
Close the door on a strip of paper so it’s caught between the gasket and the cabinet. Pull gently. You should feel light resistance. Repeat across the top, down both sides, and along the bottom. Keep your fingers away from the hinge side while you do it.
The paper test won’t replace a technician’s diagnosis, but it gives you much better information than guessing.
| Where the paper slips | Check next |
|---|---|
| Top corner | Gasket shape, hinge angle, appliance level |
| Handle side | Door sag, hinge movement, panel weight |
| Near dirt | Residue breaking gasket contact |
| Everywhere | Worn gasket, poor fit, door alignment |
When you book service, mention where the paper slipped out. It helps the technician come prepared for a gasket, hinge, or alignment job.
Replacing a Liebherr Door Gasket
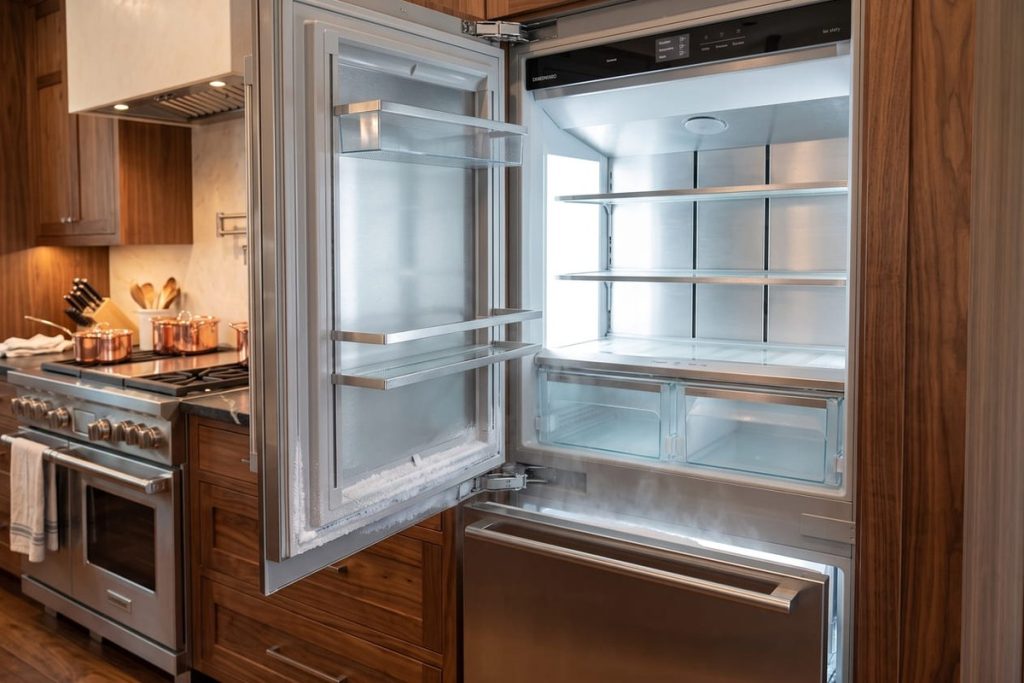
If the gasket is torn, hardened, badly deformed, or won’t stay seated, replacement may be the right repair. Liebherr parts need to match the exact model. Similar-looking gaskets can miss by just enough to leak.
Finding the model is easy once you know where to look. Liebherr’s guide says the rating plate is inside the appliance on the left-hand side, and it lists the appliance designation, service number, and serial number. Liebherr asks you to give all three when you report a fault — it makes the service faster and more accurate. Take a photo of the rating plate before your appointment.
Depending on the model, gasket replacement can involve supporting the door, working around the hinges, removing the door, fitting a genuine Liebherr gasket, and confirming seal pressure after reassembly. The job isn’t done when the gasket is in. It’s done when the door closes cleanly, the gasket compresses evenly, and the freezer holds the seal without extra pressure on the handle.
Why Genuine Fit Matters
A Liebherr gasket has to match the door profile, the cabinet contact surface, the corner shape, and the magnetic seating. A gasket that looks similar in a product photo can still miss the cabinet face once installed — and that small miss becomes the next frost line.
Notes by Liebherr Configuration
Freestanding models
If the appliance was moved, reinstalled, or affected by flooring changes, the door may need realignment before any gasket can seal correctly. Liebherr’s troubleshooting table also connects vibration noise to an appliance that isn’t standing firmly on the floor, with the remedy “check the installation and realign the appliance if necessary.”
Pro tip: check whether the door gap changed after flooring work, cabinet adjustments, or pulling the appliance out for cleaning.
Built-in and panel-ready models
Built-in models need careful attention to panel weight and cabinet fit. A custom panel can look flush while changing the way the hinge carries the door. Remember the 57-lb panel limit Liebherr gives for the HF 861 — your model’s instructions will have its own number.
Pro tip: if the panel looks flush but the seal fails at one corner, the repair may need hinge and compression work rather than a cosmetic adjustment.
Side-by-side installations
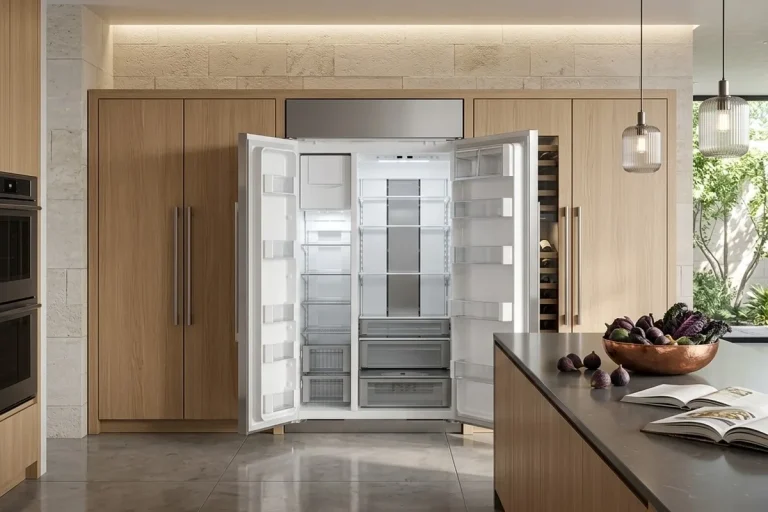
When two Liebherr columns or doors sit next to each other, height differences are easier to spot. Compare the door edges and handle positions. Uneven vertical alignment usually points toward hinge or leveling work.
French door models
French door layouts can lose pressure where the doors meet or at a lower corner. The door may look closed while gasket contact is uneven.
Bottom-freezer models
Bottom-freezer doors and drawers carry heavy frozen items near the front. Overpacked drawers, ice buildup, and basket position can all get in the way of a clean close. Liebherr’s guide notes that the grease in the drawer pull-out rails is there for lubrication and shouldn’t be removed — clean the rails with a damp cloth only.
Pro tip: clear the front of the lower basket and test the door again. If the seal improves, loading pressure is part of the problem.
What Our Technician Checks
For a Liebherr door that won’t seal, our technician checks the complete door system:
- Interior clearance
- Drawer and shelf position
- Door gasket condition
- The cabinet surface where the gasket lands
- Hinges and hinge hardware
- Door alignment
- Appliance level and, for built-ins, the fit in the recess
- Panel weight and fit
- Final gasket compression
That full check matters. Replacing the gasket without correcting hinge drop leaves the same leak. Adjusting the hinge while ignoring a hardened gasket leads to the same callback. The repair has to match the cause.
Smart Moves Before Service
Clear bulky frozen items away from the front edge. Push the drawers fully into place. Clean the gasket and cabinet face as described above. Check whether one corner of the door sits low. Try the paper test in several spots. Photograph the frost pattern before you wipe it away, and photograph the rating plate.
Skip universal gaskets, tape, sharp scraping tools, and forcing the handle. Liebherr’s guide is explicit that ice shouldn’t be removed with sharp objects. Those shortcuts can turn a door-seal problem into a panel, liner, or hinge repair.
Liebherr’s guide also has advice for the wait itself: keep the appliance closed until the technician arrives — the food will stay cold longer.
Pro tip: if the alarm comes back after loading groceries but not when the freezer is half empty, mention it. Load-sensitive sealing problems often point toward drawer clearance, door weight, or hinge position.
Why Homeowners Call Us for Liebherr Door Problems
Liebherr freezers often live in kitchens built around integrated cabinetry, where a door a few millimeters off means frost at the edge, repeated alarms, and drawers that drag.
What you get:
- Same- or next-day appointments when the schedule allows
- Gasket, hinge, and alignment inspection in one visit
- Experience with built-in and panel-ready installations
- EPA 608 certified, background-checked technicians with 15+ years in the field
- Genuine OEM parts and a warranty of up to six months on our repairs
We’re a family-owned, insured, independent repair company, not affiliated with Liebherr.
When to Call Instead of Waiting
A light frost line may not look urgent, but where it appears matters. If it keeps coming back to the same spot, warm air has a path into the freezer. If the door needs pressure to close, the seal isn’t landing cleanly. If the alarm keeps repeating, the appliance is already flagging the problem.
Call when:
- Frost returns after cleaning
- A gasket corner curls away
- The door sits low on one side
- The door won’t close without pressure
- The paper test fails in several places
- The door alarm keeps coming back
- A built-in panel looks slightly shifted
- The gasket is torn, hard, or loose
- The temperature alarm doesn’t clear on its own, or the display shows a fault code (F0 to F9 on the HF 861) — Liebherr’s guide says to contact service for those
Recurring frost is reason enough to book service. An early repair is usually simpler than waiting for ice to reach the drawers or trim. Book Liebherr freezer repair and our Atlanta team will check the gasket, hinges, alignment, and cabinet fit in one visit.
Bottom Line
If your Liebherr freezer keeps frosting near the door, the seal isn’t holding up under normal use. In humid weather, that small gap turns into ice buildup, repeated alarms, longer run times, and food that doesn’t stay frozen the way it should.
The fix starts with finding why the door lost its pressure: blocked drawers, a worn gasket, loose hinge hardware, poor alignment, or a built-in panel that has shifted. Check what you safely can — clearance, cleaning, the paper test — and leave hinges, alignment, and gasket replacement to a technician who works from your model’s instructions. If your Liebherr is a combined refrigerator-freezer, our Liebherr refrigerator repair page covers the fresh-food side too.
Frequently Asked Questions
Why is my Liebherr freezer door not sealing?
The usual causes are drawers that aren’t pushed in, overloaded storage, weak gasket compression, hinge movement, poor door alignment, a heavy custom panel, or a damaged gasket. Liebherr’s own troubleshooting table lists a door that isn’t closed properly as the first reason a freezer isn’t cold enough.
Does frost near the door always mean the gasket is bad?
No. Frost near the door means air is getting in. Many Liebherr freezers use NoFrost, which defrosts automatically, so frost around the door opening is a warning sign. The leak can come from a worn gasket, a shifted hinge, poor alignment, or something inside blocking the door.
Can cleaning fix a Liebherr door seal?
Yes, if dirt or residue is breaking contact. Unplug the freezer, clean the gasket and the cabinet face with lukewarm water and a little dish soap on a soft cloth, keep water out of the drain gutter and ventilation grille, and dry both surfaces. If the rubber is torn, hardened, or deformed, cleaning won’t bring the seal back.
Why does my Liebherr door alarm go off when the door is closed?
On the HF 861, Liebherr’s guide says the door alarm sounds when the door has been open for more than 180 seconds and stops once it’s closed. If it sounds with the door looking shut, the appliance isn’t registering the door as closed — check for something inside holding it open and for a handle side that isn’t fully home. If it keeps happening, have the door and hinges checked.
Why does my freezer door seal better when I lift it?
That points toward hinge drop, loose hinge hardware, a heavy panel, or an alignment problem. The gasket may be fine, but the door isn’t landing at the right angle. Don’t try to fix it by holding or bending the hinge — Liebherr warns that fingers can get caught, and hinge hardware has exact tightening values.
Should I replace the gasket myself?
We recommend a technician, especially on built-in and panel-ready models, where hinge position, panel weight, and door alignment all affect the final seal. The right repair uses a gasket matched to the model and serial numbers on your rating plate and checks door compression afterward.