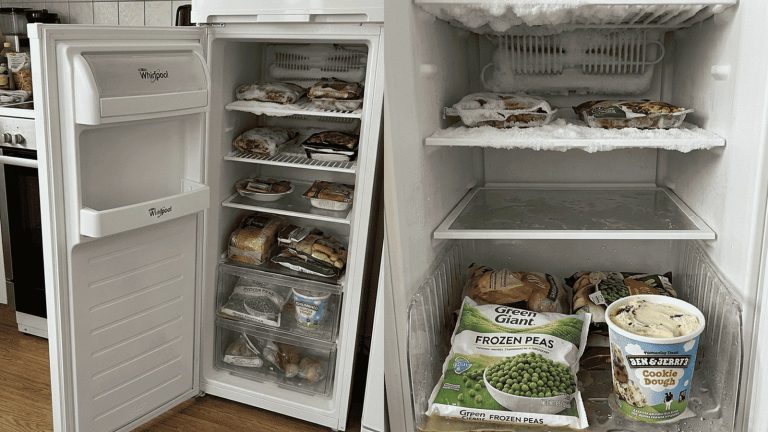
A Whirlpool freezer door that doesn’t seal properly breaks the one barrier that keeps cold in and warm, humid air out. When that seal fails, moisture gets inside, frost builds up, the compressor runs longer, and the temperature gets harder to hold. Left alone, a door problem slowly turns into a cooling problem.
Below: how the door seals, how a sealing problem develops, the common causes, and the checks Whirlpool recommends. Most of what we quote from Whirlpool comes from the Upright Freezer Owner’s Manual W11507042B, which Whirlpool’s Canadian document library files under the WZF79R20DW model, and from Whirlpool’s product help pages for upright freezers. French door, side-by-side, and bottom-freezer refrigerators work on the same principles, but check your own model’s guide for the details.
Frost building up around the door? Our freezer repair team can find out why the seal isn’t holding before the damage spreads.
How a Whirlpool Freezer Door Seals
Sealing starts with the door itself. It’s designed to stay rigid under load. Any flex or warping changes how the gasket presses against the cabinet, especially at the corners and along the vertical edges.
The gasket sits in a molded channel around the door. If the gasket pulls out of that channel or the channel deforms, the gasket can look fine and still not press evenly.
Inside the gasket is a magnetic strip that pulls the door the last bit of the way closed. The magnet can make up for small irregularities in the cabinet face, but it can’t overcome a door that’s out of alignment or a gasket that has hardened.
The door swings on hinges, and the hinges decide the angle at which the gasket meets the cabinet. Even slight hinge wear or a loose bracket changes that angle. The upright manual is clear about how much the door relies on its hardware: when hinges are being moved, it says to support the door separately and not depend on the door magnets to hold it in place.
All of this works relative to the cabinet, which has to sit level — more on that below.
How a Door Sealing Problem Develops Over Time
Door sealing failure is gradual. It tends to follow the same stages:
- Minor air leakage. The gasket touches unevenly, often because of slight misalignment or early wear. There’s no visible frost yet, and cooling seems normal.
- Occasional frost. Frost appears now and then, usually near a gasket corner or along one side, mostly after the door has been opened a lot or in humid weather.
- Moisture spreading. Moisture gets onto the liner and, in French door models, along the center seam between the doors. Ice starts forming where it affects how the door moves.
- The door stops closing fully. Ice gets in the way of the door, so it no longer closes all the way, and gasket contact gets worse.
- Cooling problems. Frost can restrict airflow, fans work harder, and the compressor runs longer. Whirlpool’s help pages list “cause the compressor to run longer to maintain temperatures” as one result of a door that can’t close properly. What began as a door problem becomes a cooling problem.
Most owners don’t notice anything until stage 4 or 5, so check the seal at the first sign of frost.
Weak door seal? Book freezer repair early and avoid the bigger repair.
Primary Causes of a Freezer Door Not Sealing
1. Gasket problems
The gasket is the flexible strip around the door that contacts the cabinet frame. Over time, gaskets can harden, shrink, crack, or collect debris, and then they can’t make even contact.
Signs of a failing gasket:
- Cracks or brittleness
- A section pulling away from the door
- A paper or dollar bill that slides out easily when closed in the door (see the test below)
Clean before you condemn it. The upright manual says not to use abrasive or harsh cleaners on door liners or gaskets — no window sprays, scouring cleansers, flammable fluids, cleaning waxes, concentrated detergents, bleach, or petroleum-based cleaners — and no paper towels or scouring pads. Use a soft cloth with mild detergent in warm water, then rinse and dry.
Don’t try to reshape a gasket with a hair dryer or other heat. The upright manual doesn’t include that step, and heat can deform the gasket further. A gasket that’s torn, hardened, or permanently out of shape needs to be replaced with a part matched to your model.
2. Door misalignment and hinge wear
Mechanical alignment problems are as common as gasket failure. A worn or bent hinge, a loose bracket, or a door stop that wasn’t refitted correctly after the door was reversed can shift how the door closes. When the door doesn’t land squarely, the gasket never makes even contact.
You’ll often see it as an uneven gap — wider at the top than at the bottom, or the other way around. Hinge adjustment and replacement mean supporting a heavy door while the hardware is loose, which is why the upright manual warn not to rely on the magnets to hold it. That’s a job for a technician.
3. A freezer that isn’t level or tilted back
This one is easy to overlook. Whirlpool’s help page puts it simply: if the freezer is not level, the door may not seal properly. Level it side to side and front to back.
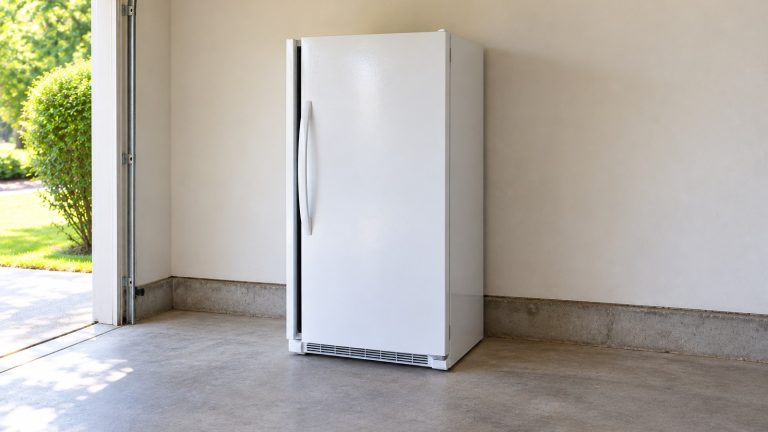
Upright freezers also need a slight tilt back. On models with brake feet behind a base grille, the upright manual says that if the door doesn’t close easily or pops open, you should turn both brake feet clockwise the same amount with a 1/4″ hex driver. That raises the front of the freezer, and it may take several turns before the door closes more easily. Turn both feet the same amount to keep the freezer level, and make sure it doesn’t roll forward when you open the door. Models without a grille use two front leveling legs instead, adjusted with a level on top — check your own manual for which style you have.
On French door and side-by-side refrigerators, an uneven floor or a cabinet out of level can show up as doors at different heights or a gap at the center seam.
4. Something blocking the door
The simplest cause is often the right one. Oversized containers, a basket or shelf that isn’t seated properly, ice built up in a corner, or packaging left from delivery can all keep the door from closing fully, even with a perfect gasket. Whirlpool’s checklist asks you to:
- Make sure food packages aren’t keeping the door from closing
- Rearrange containers so they fit more tightly and take up less space
- On a newly installed freezer, make sure all shipping packaging has been removed
- Check that shelves and baskets are in their correct positions
5. Ice buildup and defrost problems
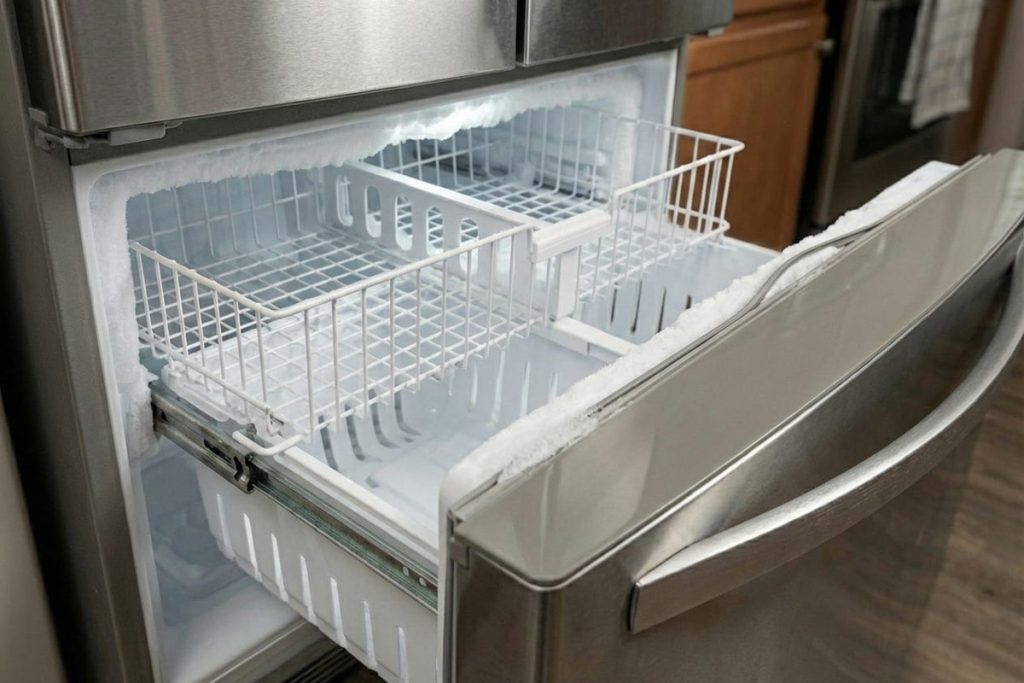
Frost isn’t only a symptom. It can become a physical barrier. Ice that forms on the gasket, the cabinet edge, or the center seam stops the door from closing, which lets in more air, which makes more ice.
Excess frost can also come from a defrost system that isn’t working. On frost-free models, the upright manual explains that the freezer removes frost by moving air and collecting moisture, so heavy frost inside a frost-free freezer is itself a sign that something isn’t right. Never chip ice away with a knife or other sharp tool — Whirlpool says not to use mechanical devices to defrost, because damage can occur.
6. The wrong location
Whirlpool lists location as part of the door-sealing check. Don’t put the freezer near an oven, radiator, or other heat source. The manual says it operates most efficiently where the temperature won’t fall below 40°F, and it calls for at least 3 inches of clearance on both sides and 2 inches between the back of the freezer and the wall. Next to a wall, leave extra room on the hinge side so the door can open wider.
Symptoms That Confirm a Sealing Problem
- Frost along the door edge and on the inside walls
- Condensation on the outside along the gasket
- Air you can feel near the gasket with the door closed
- A door that seems closed but opens with almost no resistance
- A compressor that runs constantly or longer than it used to
The paper test
Whirlpool’s test is quick. Place a dollar bill or a piece of paper between the seal and the freezer, close the door, and pull the paper out. Repeat along the entire seal. You should feel tension as it comes out. If it pulls out very easily, with little or no tension, the door may not be sealing correctly.
French Door and Side-by-Side Models
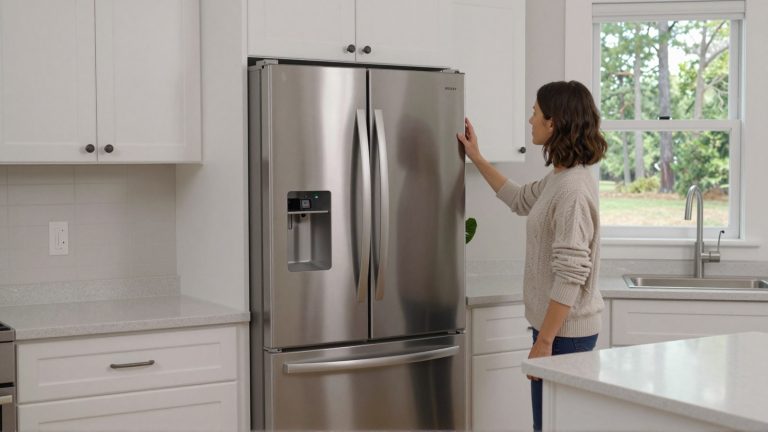
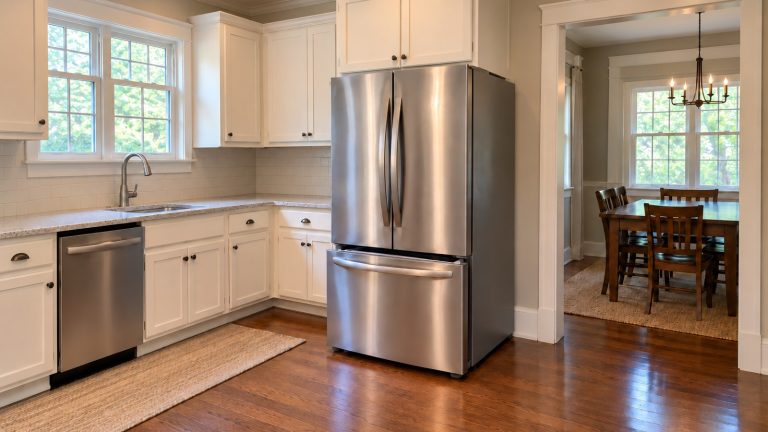
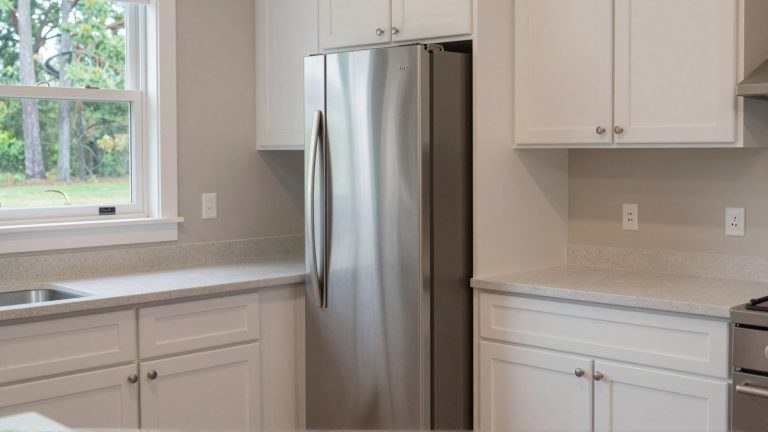
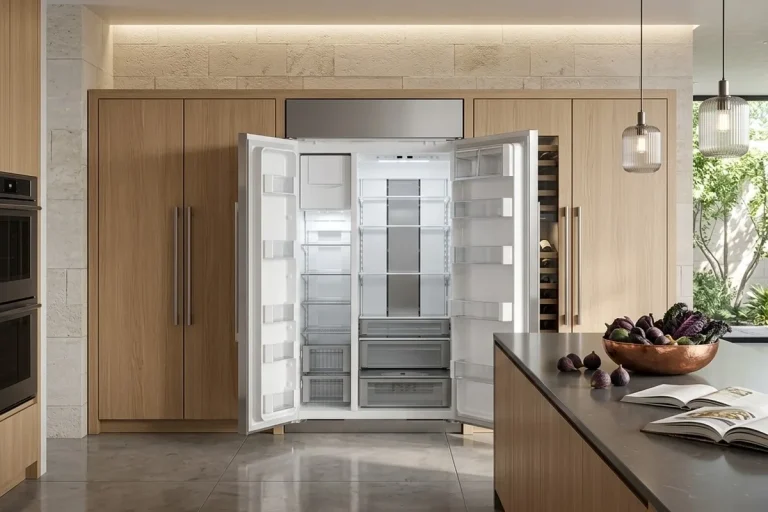
French door and side-by-side refrigerators, such as the Whirlpool WRF555SDFZ French door model, have more seal to cover: the center seam between the doors, the freezer drawer or door, and two or more hinges. Uneven pressure along the gaskets, ice at the center seam, or doors at different heights all point toward alignment and leveling.
Professional Diagnosis vs. DIY
If cleaning, the paper test, leveling, and clearing the door don’t fix it, a technician adds what’s hard to do at home:
- Measuring door alignment and cabinet level accurately
- Checking hinges, brackets, the door stop, and the door for wear or warping
- Checking gasket condition and magnetic contact all the way around
- Looking for moisture paths caused by ice or a defrost fault
- Replacing the gasket or hardware with genuine OEM parts matched to your model
Conclusion
A Whirlpool freezer door that won’t seal usually comes down to one of a few causes: a worn or dirty gasket, misalignment or hinge wear, a cabinet that isn’t level or tilted back, something blocking the door, ice buildup, or a poor location. These problems break the cold barrier, cause frost, raise energy use, and shorten the life of other parts.
Start with Whirlpool’s own checks — the paper test, leveling, clearing the door, and the right location. If the seal still doesn’t hold, our EPA 608 certified, background-checked technicians bring 15+ years in the field, use genuine OEM parts, and back repairs with a warranty of up to six months. We’re a family-owned, insured, independent repair company, not affiliated with Whirlpool, and we offer same- or next-day appointments when the schedule allows. Book freezer repair to get it looked at.
FAQ
Why do I see frost around my freezer door?
Frost means warm, humid air is getting in — usually through a gasket that isn’t making full contact, or a door that isn’t closing all the way. That moisture condenses and freezes inside the cold compartment.
Can I reshape a freezer gasket myself?
We don’t recommend heating it. The upright manual doesn’t include that step, and heat can deform the gasket further. Clean it with mild detergent and warm water. If it’s torn, hard, or permanently deformed, have it replaced.
Is frost always caused by gasket failure?
No. A freezer that isn’t level, a door that’s blocked, a basket out of position, or a defrost problem can all cause frost. On a frost-free model, heavy frost inside is a sign to have the defrost system checked.
How do I check that my Whirlpool upright freezer is level?
Put a level on top, side to side and front to back. On models with brake feet behind the base grille, Whirlpool says to turn both feet clockwise the same amount with a 1/4″ hex driver to raise the front until the door closes easily, and to make sure the freezer doesn’t roll forward when you open the door.
How do I test the door seal?
Close a dollar bill or a piece of paper in the door, then pull it out. Repeat all the way around. You should feel tension; if it slides out easily, the door may not be sealing.
What does a technician check?
Door alignment and cabinet level, the hinges, brackets, and door stop, gasket condition and magnetic contact around the whole door, and any ice or defrost problem that’s letting moisture in.